
S2000 Driveshaft Restomod: Restoring the Finish and Refining the CV Joints
From corroded shafts to freer outboard joint movement
Part of our Honda S2000 Restoration & Tuning Journal Series
Last week, we worked on seized wheel-alignment adjusting bolts. We freed the bolts so that the suspension could actually be adjusted again. There is little point in discussing the ideal alignment figures if the mechanism needed to set them will not move.
This week, we are continuing our work on the S2000’s rear suspension, but moving to the driveshafts. We are restoring their outer surfaces, overhauling the inboard and outboard CV joints, and refining the movement of the outboard joints.
It is tempting to describe the visible part of this job as simply making rusty driveshafts look good again. That would miss much of the work—and the reason we decided to do it.
How Does a Driveshaft Reach This Condition?
A driveshaft lives beneath the car, where it is exposed to water, road dirt and stones thrown up by the tyres. The deterioration often starts with something very small: a stone chip breaks the original coating and exposes a little metal.
Rust begins at that exposed point. Wet mud then collects on the surface and holds moisture against it. As the coating deteriorates, more dirt and rust accumulate. Eventually, the shaft can appear to be deeply corroded, although some of what we are seeing is a layer of damp mud and rust deposits sitting on top of it.
The first useful step is therefore washing, not guessing from its appearance. Once the deposits have gone, we can see the rusty metal surface where the original coating has been lost and assess the condition of the shaft itself.
In this case, our work is directed at surface corrosion and the failed finish. The amount of material lost from the underlying steel is small compared with what the accumulated deposits initially suggest.
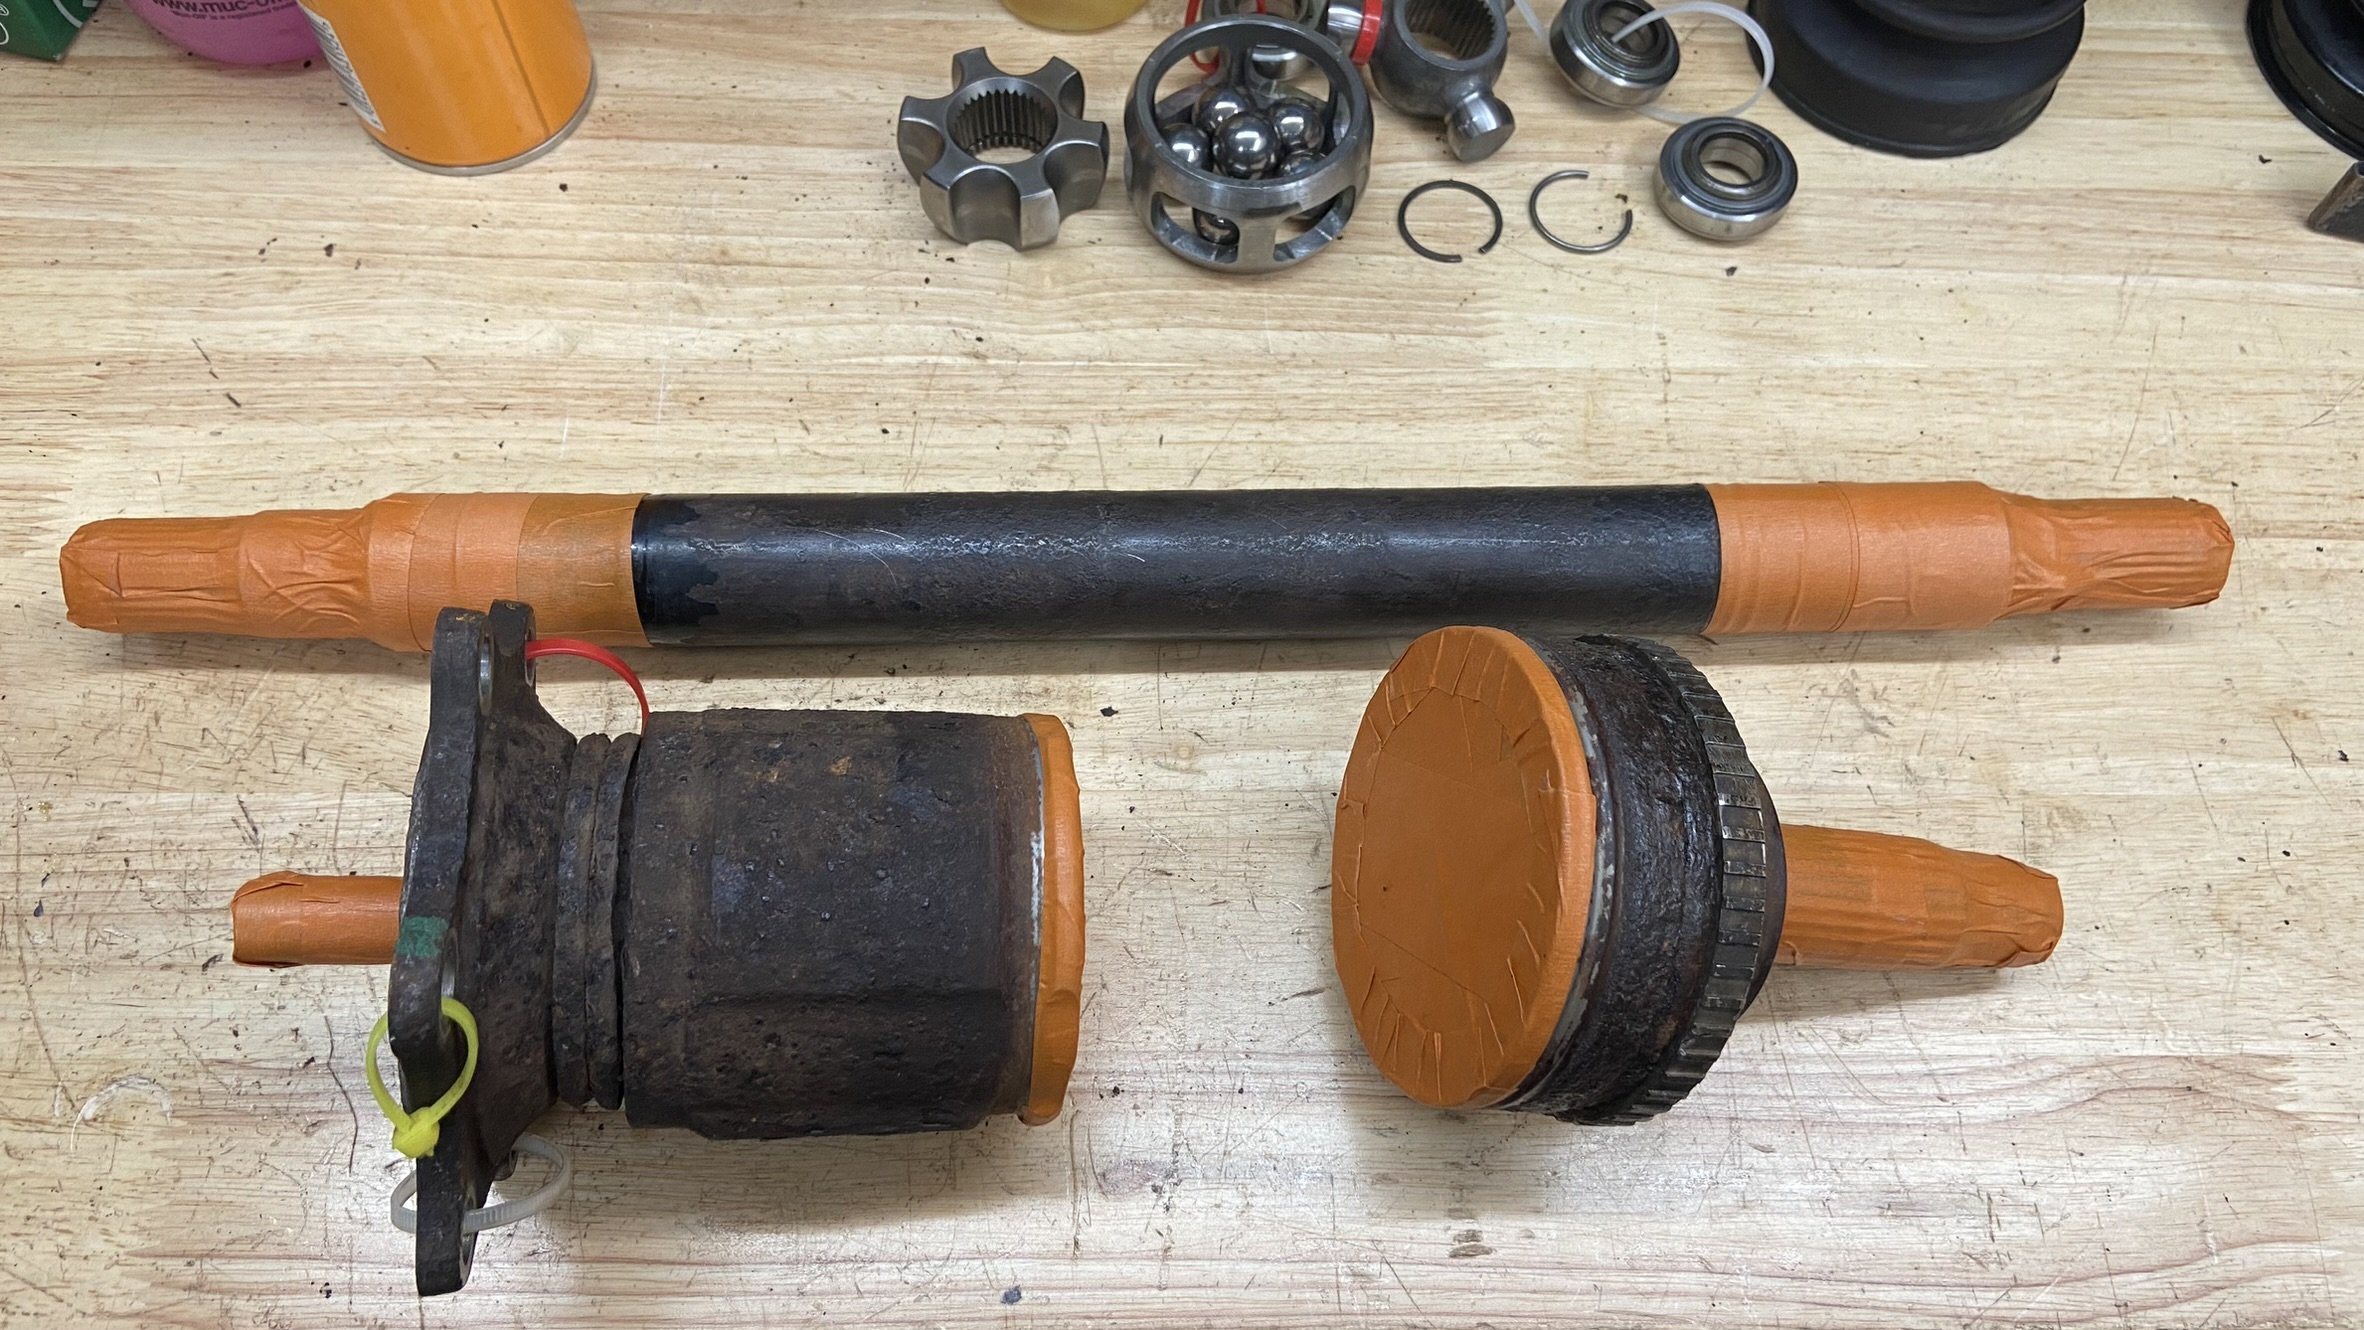
Preparation and marking before the job
Why Sandblast and Powder Coat It?
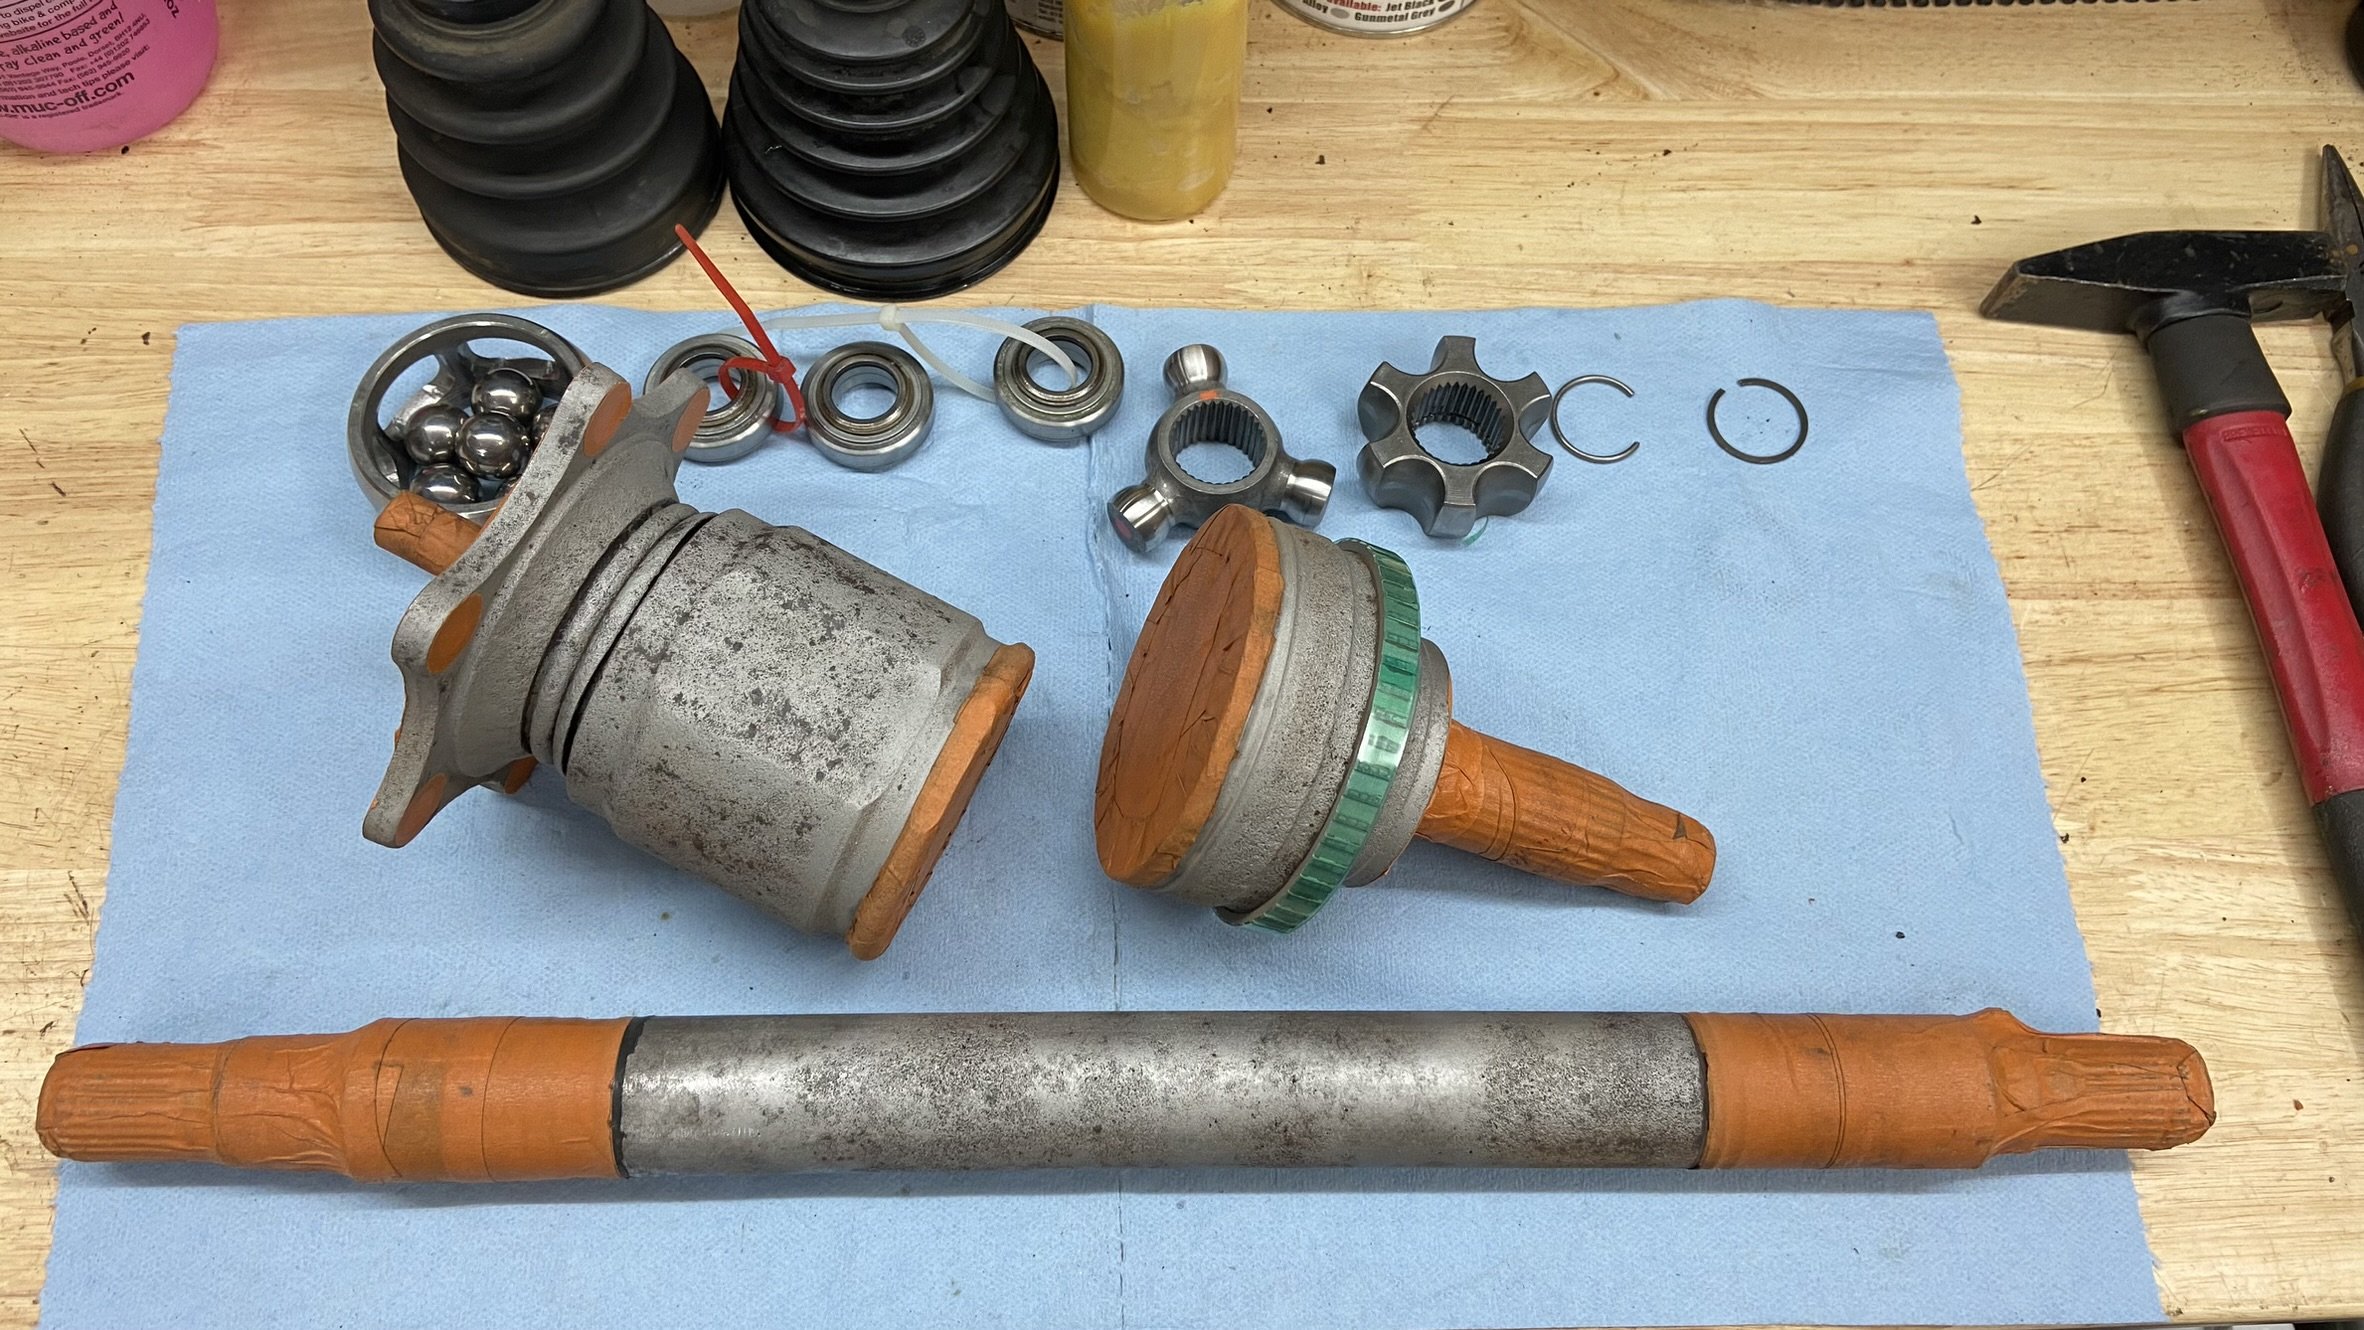
After cleaning, we use sandblasting to remove the remaining surface rust and prepare the metal for a new finish. This is the point at which the distinction between a deposit on the shaft and the shaft’s own surface becomes much clearer.
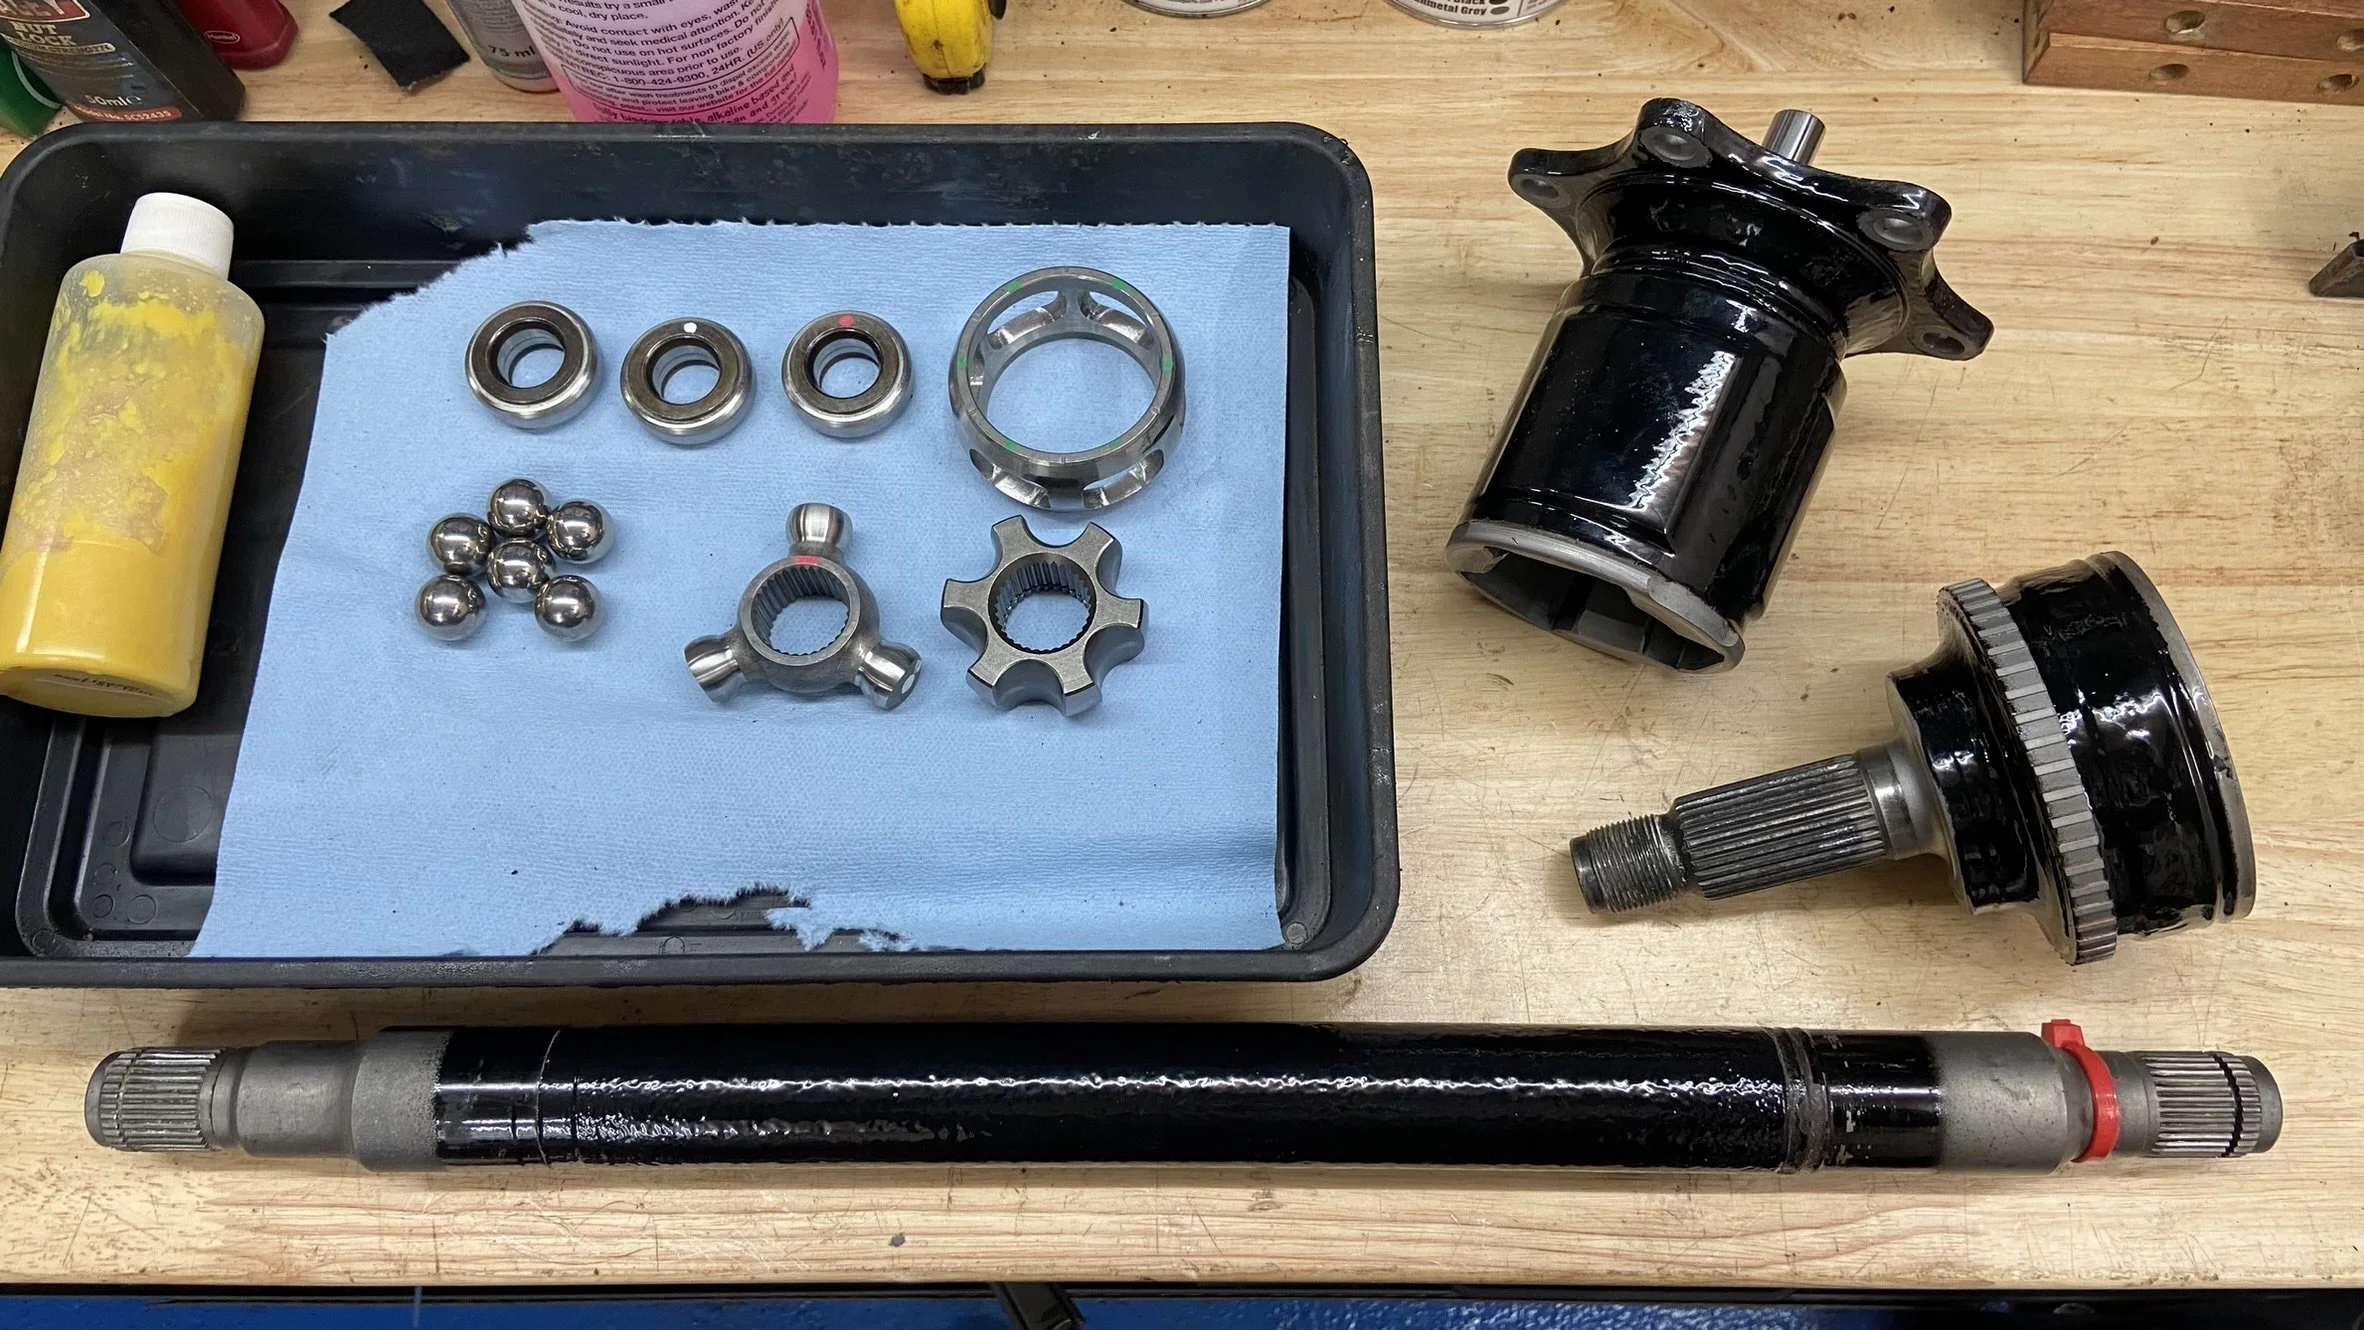
We then powder coat the prepared shaft. The coating replaces the protective finish that had broken down and adds material back to its outer surface. I also expect a modest improvement in its resistance to twisting as the surface coating is restored. The principal aim is to give the cleaned component a sound, durable finish and slow the return of corrosion.
This is why I chose this process rather than applying a rustproofing product over the existing condition. The sequence matters: wash it, inspect it, remove the surface rust, then refinish it. A coating applied over mud and loose rust would leave the most important questions unanswered.
There is also satisfaction in seeing an ageing component return to a clean, finished state. But the appearance is the result of doing the preparation properly, rather than the whole purpose of the job.
What Happens Inside the Driveshaft?
The external finish is only one part of this restoration. Each driveshaft also contains inboard and outboard CV joints. These joints allow the shaft to transmit power while accommodating movement in the rear suspension.
We dismantle and clean the joints so that we can inspect the working parts rather than treating the assembly as a sealed, ageing unit. We then renew the grease and replace the boots during reassembly.
A boot’s job is straightforward but essential: it keeps grease inside the joint and road contamination outside it. Once a shaft has been removed and the joints dismantled, it makes sense to address those consumable parts as part of the same piece of work.
The outboard joint, however, gives us another reason to go further than a conventional clean and re-grease.
The dismantled and cleaned CV joint components.
The Familiar S2000 Outboard Joint Issue
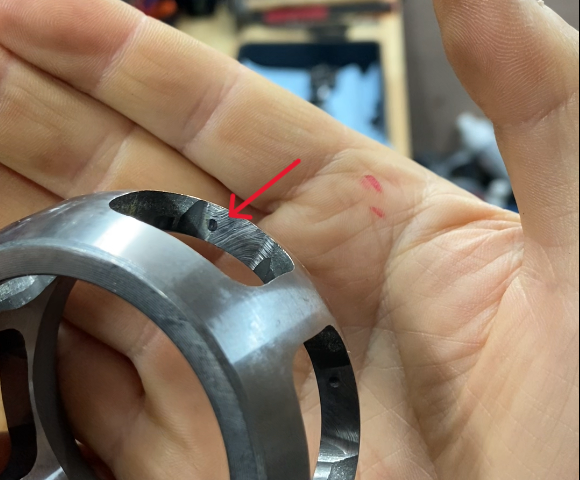
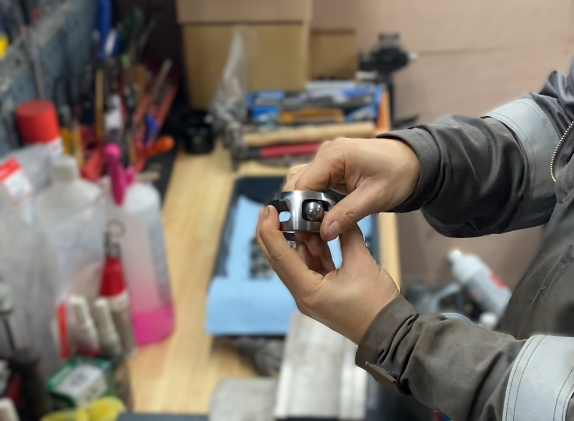
S2000 owners will recognise the tendency for the bearing balls in the outboard joint to catch against the inner race. When we handle the dismantled parts, we can examine that point of contact directly and feel how the components move together.
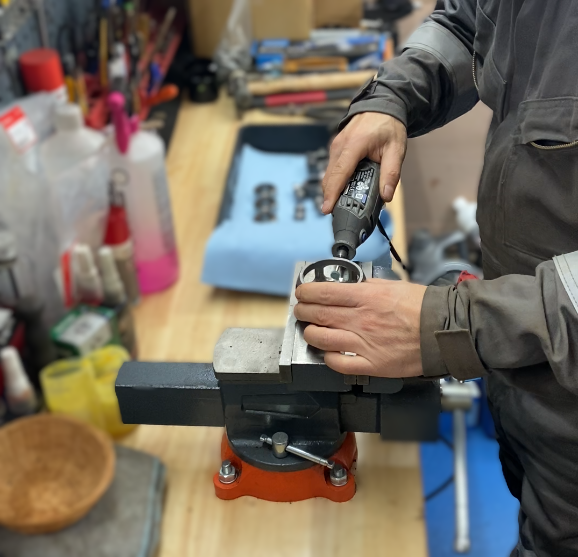
Our aim is to increase the clearance between the bearing balls and the inner race. We make a targeted adjustment to the contact area so that the balls can move more freely as the joint articulates.
Think of the outboard joint as one of the S2000’s ankles. It must continue transmitting drive while changing angle with the rear suspension. If its movement is restricted by a point where the bearing balls tend to stick, we want to address that restriction inside the joint itself.
The objective is smoother, more flexible movement at the rear wheels and less unnecessary resistance being passed to other suspension components. This is the tuning element of the driveshaft restomod: it concerns how the joint works, not how the finished shaft looks.
Putting the Assembly Back Together
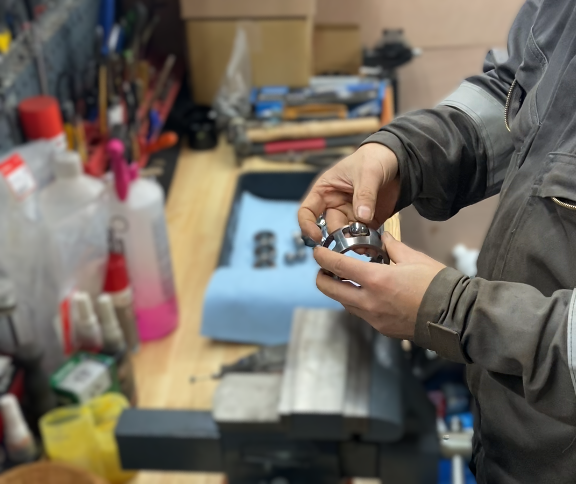
Once the surface finish and joint work are complete, we reassemble the driveshafts with fresh grease and boots.
At this stage, the result is more than a freshly coated pair of shafts. We have removed the dirt that concealed their condition, inspected the metal beneath it, cleared the surface rust, restored the protective finish and attended to the working parts inside the joints.
That combination is why I call the job a restomod. The restoration deals with deterioration brought about by age and exposure. The modification addresses a characteristic restriction in the movement of the S2000’s outboard CV joint.
Restoring Movement, One Component at a Time
The connection with last week’s article is quite specific. We freed seized alignment adjusting bolts to make suspension adjustment possible again. This time, we are working inside the driveshaft joints to give their moving parts greater freedom.
Neither job starts by choosing a fashionable upgrade. Both start by finding an ageing component whose movement deserves attention, taking it apart where necessary, and dealing with the cause.
If you are refreshing the rear suspension of your S2000, it is worth considering the condition and movement of the driveshafts alongside the arms, bushes and alignment adjusters. We can inspect what is on your car, show you what we find and work out which parts of this process belong in your own project.
See the Complete S2000 Restoration
Explore the complete restoration and development of our demonstration S2000—and the workshop experience behind it: