
CSOhara Fender Inner Support Bar Kit - Honda S2000 AP1/AP1.5/AP2
I admire the development concept of CSO's President, Mr Ohara. He develops and tests his own S2000 parts on the racing tracks before selling them. At our company, we also always test our parts on our own demo car before offering them to our customers.
Now, this "fender inner support bar," which we received quite some time ago, has been on a long waiting list at our workshop, but we've finally installed it!

This process is time-consuming and tedious, but the difficulty level isn't that high. Of course, it requires knowledge and skill, so please keep that in mind.
Let's look at the steps.
To install this part, you first need to disassemble it to this extent.
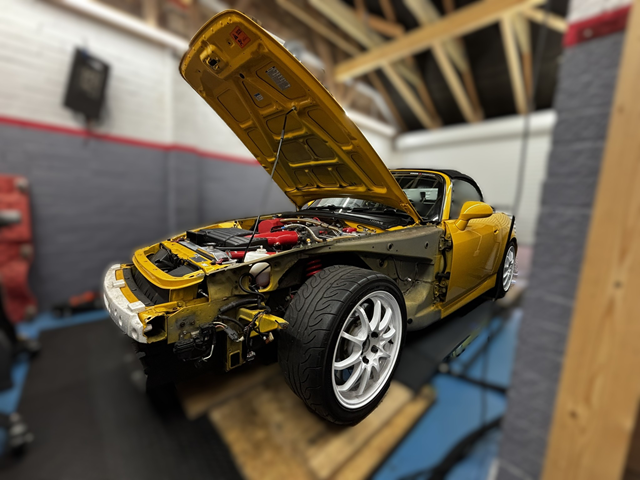
First, the bumper.

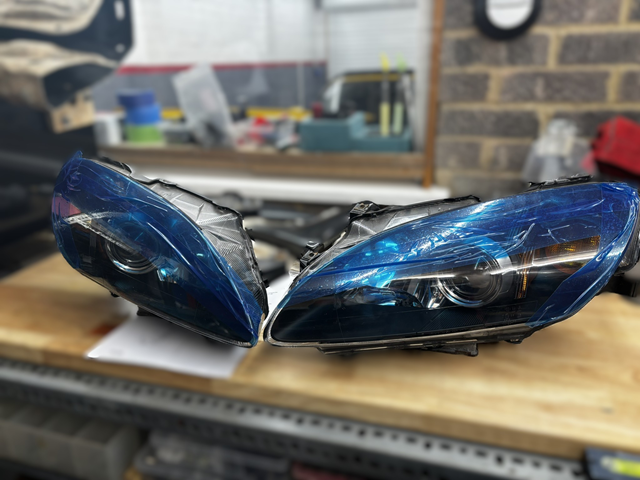
After removing the fender liner, remove the headlights first, then the fender.
Forcing the bolts under the side sill will strip the threads.

During this type of disassembly, carefully protect the joints of the parts. At this time, also protect the rear fender and door; the purpose here is to prevent the door from shifting position when installing the support bar.

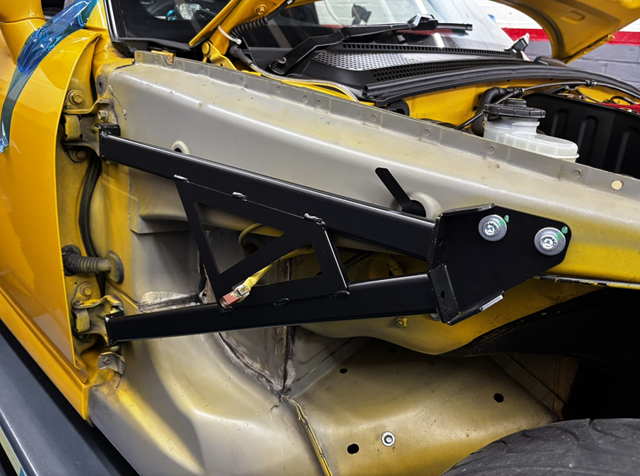
The support bar is fastened using three of the four door hinge bolts. The masking tape is there to prevent the door from shifting during this process.
Align the holes in the mounting plate at the end with the holes in the chassis. Since the chassis is usually slightly warped from side to side, the holes may not be perfectly centred, but don't worry about that.
The key point is that the mounting angles are the same on both sides.
Of the two holes, drill a new 8mm hole at the rear (in the direction of travel). Use a step drill bit.

After installing the support bar, remove the windshield washer tank and replace it with a temporary tank.
To avoid cutting wires, I used a commercially available 2-pin connector.
The included temporary bag should be mounted in front of the strut tower, next to the airbox. We'll install the nut using the clip hole that holds the hood opener wire cable.
Since this is for installation to pass vehicle inspections, a simple bag is fine. Washer fluid isn't necessary when driving on the circuit.

However, if you mostly use the car on the street, a general-purpose 1L tank is also OK. I had a suitable one, so I'll install the tank on the demo car, which is often driven around.

That completes the series of tasks.
And as for the effect...
Back in the day, when body reinforcement with roll bars was becoming mainstream, a reinforcement method called "bulk penetration" was popular. This involved extending the intersection point from the point where the front arch and side bar meet and connecting it to the front suspension upper mount.
This was because suppressing stress release from the frame's bowing, with the bulkhead as the pivot point, significantly increased chassis rigidity, providing multiple benefits.
Well, I wouldn't say it's exactly the same, but it shows how effective the integration of the two spaces is, with the bulkhead as the pivot point.
This part is particularly effective for the S2000, which has a long (far) distance from the driver's seat to the front suspension.
Since installing this on our demo car, the steering response (already quite direct) has become even more refined, enhancing the feeling of oneness between driver and machine.
Personally, I would recommend this part before installing a sports catalytic converter or a strut bar! The S2000 doesn't even need a strut bar.
So, if you want this feel, order now! Since it's made to order, please inquire about the delivery time.
Recently, inflation in materials like steel has been steep, so the prices of these parts are constantly rising. If you think about it later, the price will likely have increased.
The prices displayed on our website are reference prices; we will provide you with the current price when you inquire. Also, the reference prices reflect UK VAT; for customers residing in the US, Australia, etc., we will provide you with a price based on UK VAT exemption and in your country's currency.
This part installation assumes it is for the RH vehicles. Please note that some differences of installation procedures may exist for the LH vehicles.